Enrolling your VM into Jamf Pro
Without the ability to use automated device enrollment with our newly created virtual machines, we must resort to user-initiated enrollment (UIE).

Without the ability to use automated device enrollment with our newly created virtual machines, we must resort to user-initiated enrollment (UIE). This process is less automated and can be time-consuming.
However, the following tip may help save you some time.
Create an Enrolment Invitation
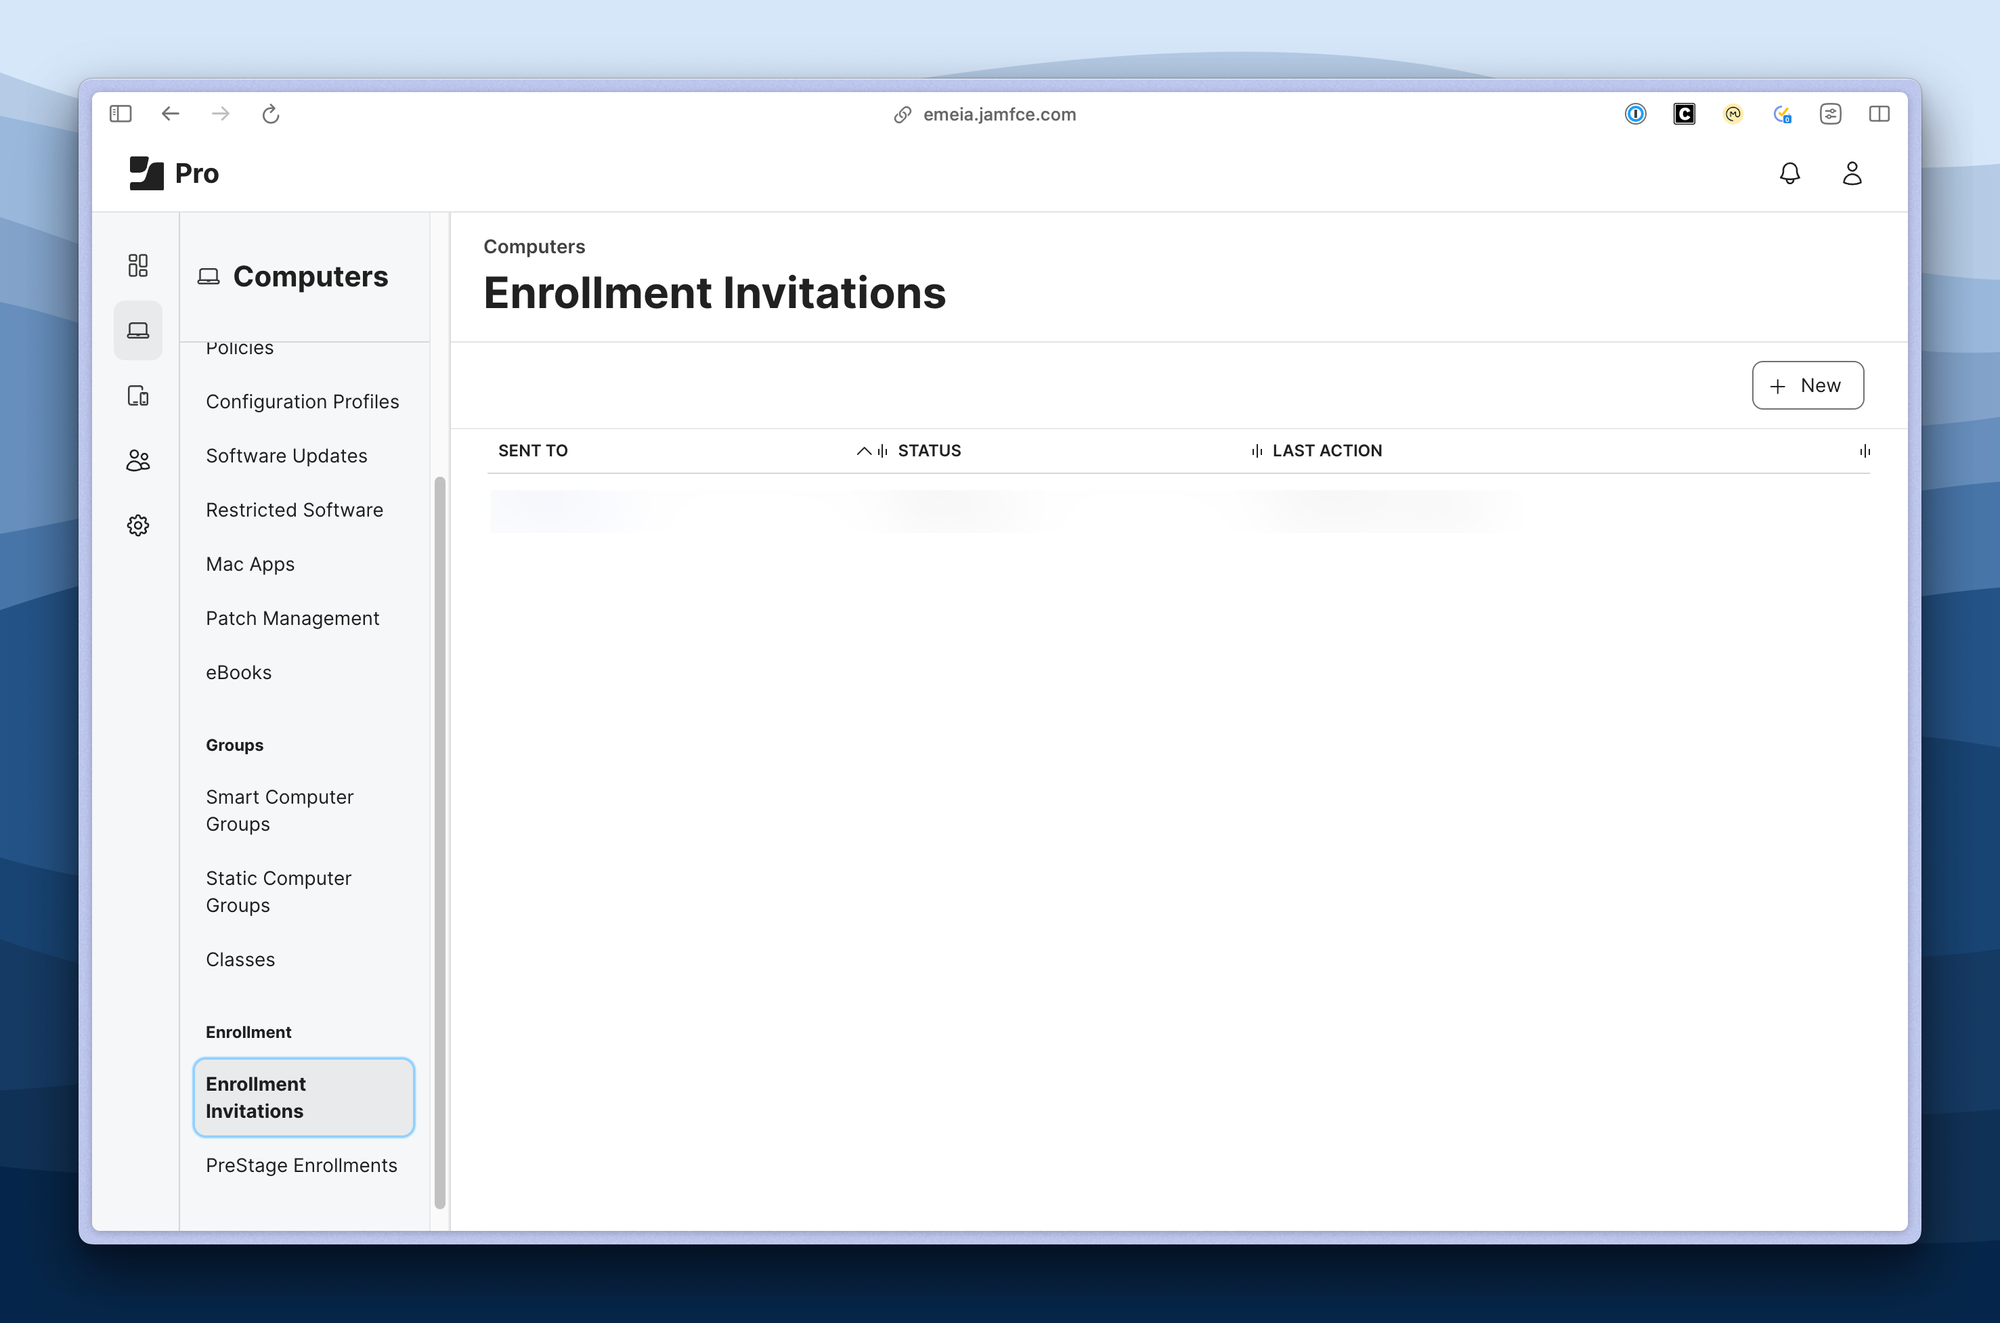
The first step is to create an invitation for enrollment. Navigate to Computers -> Enrolment Invitations and create a new invitation.
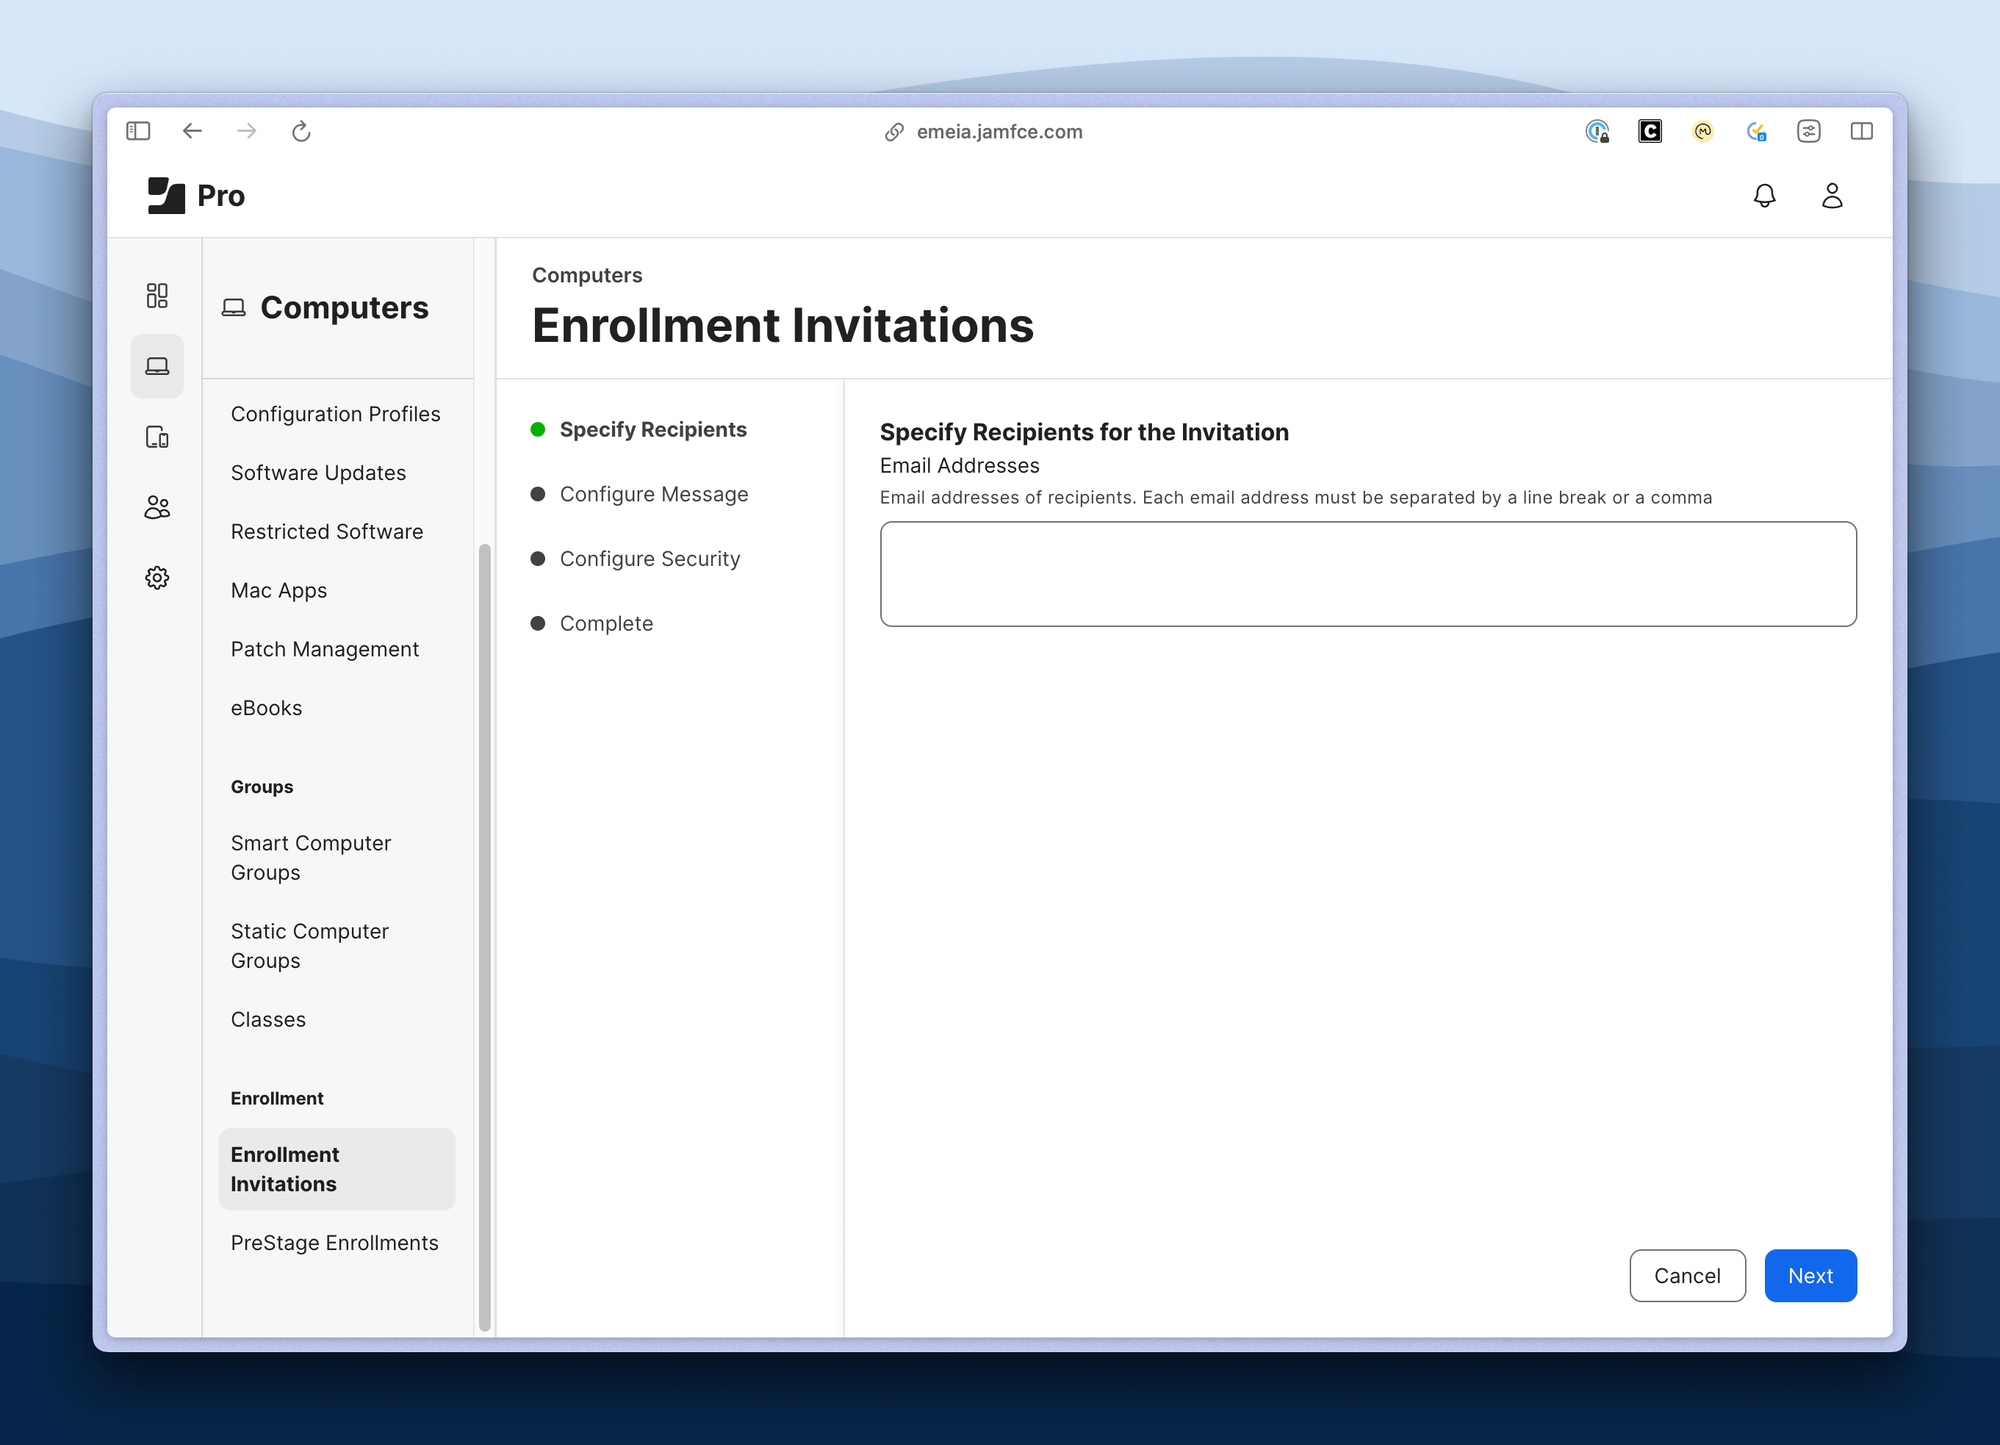
Click on 'New' and enter a dummy email address. I suggest using something like notreal@notarealdomain.com
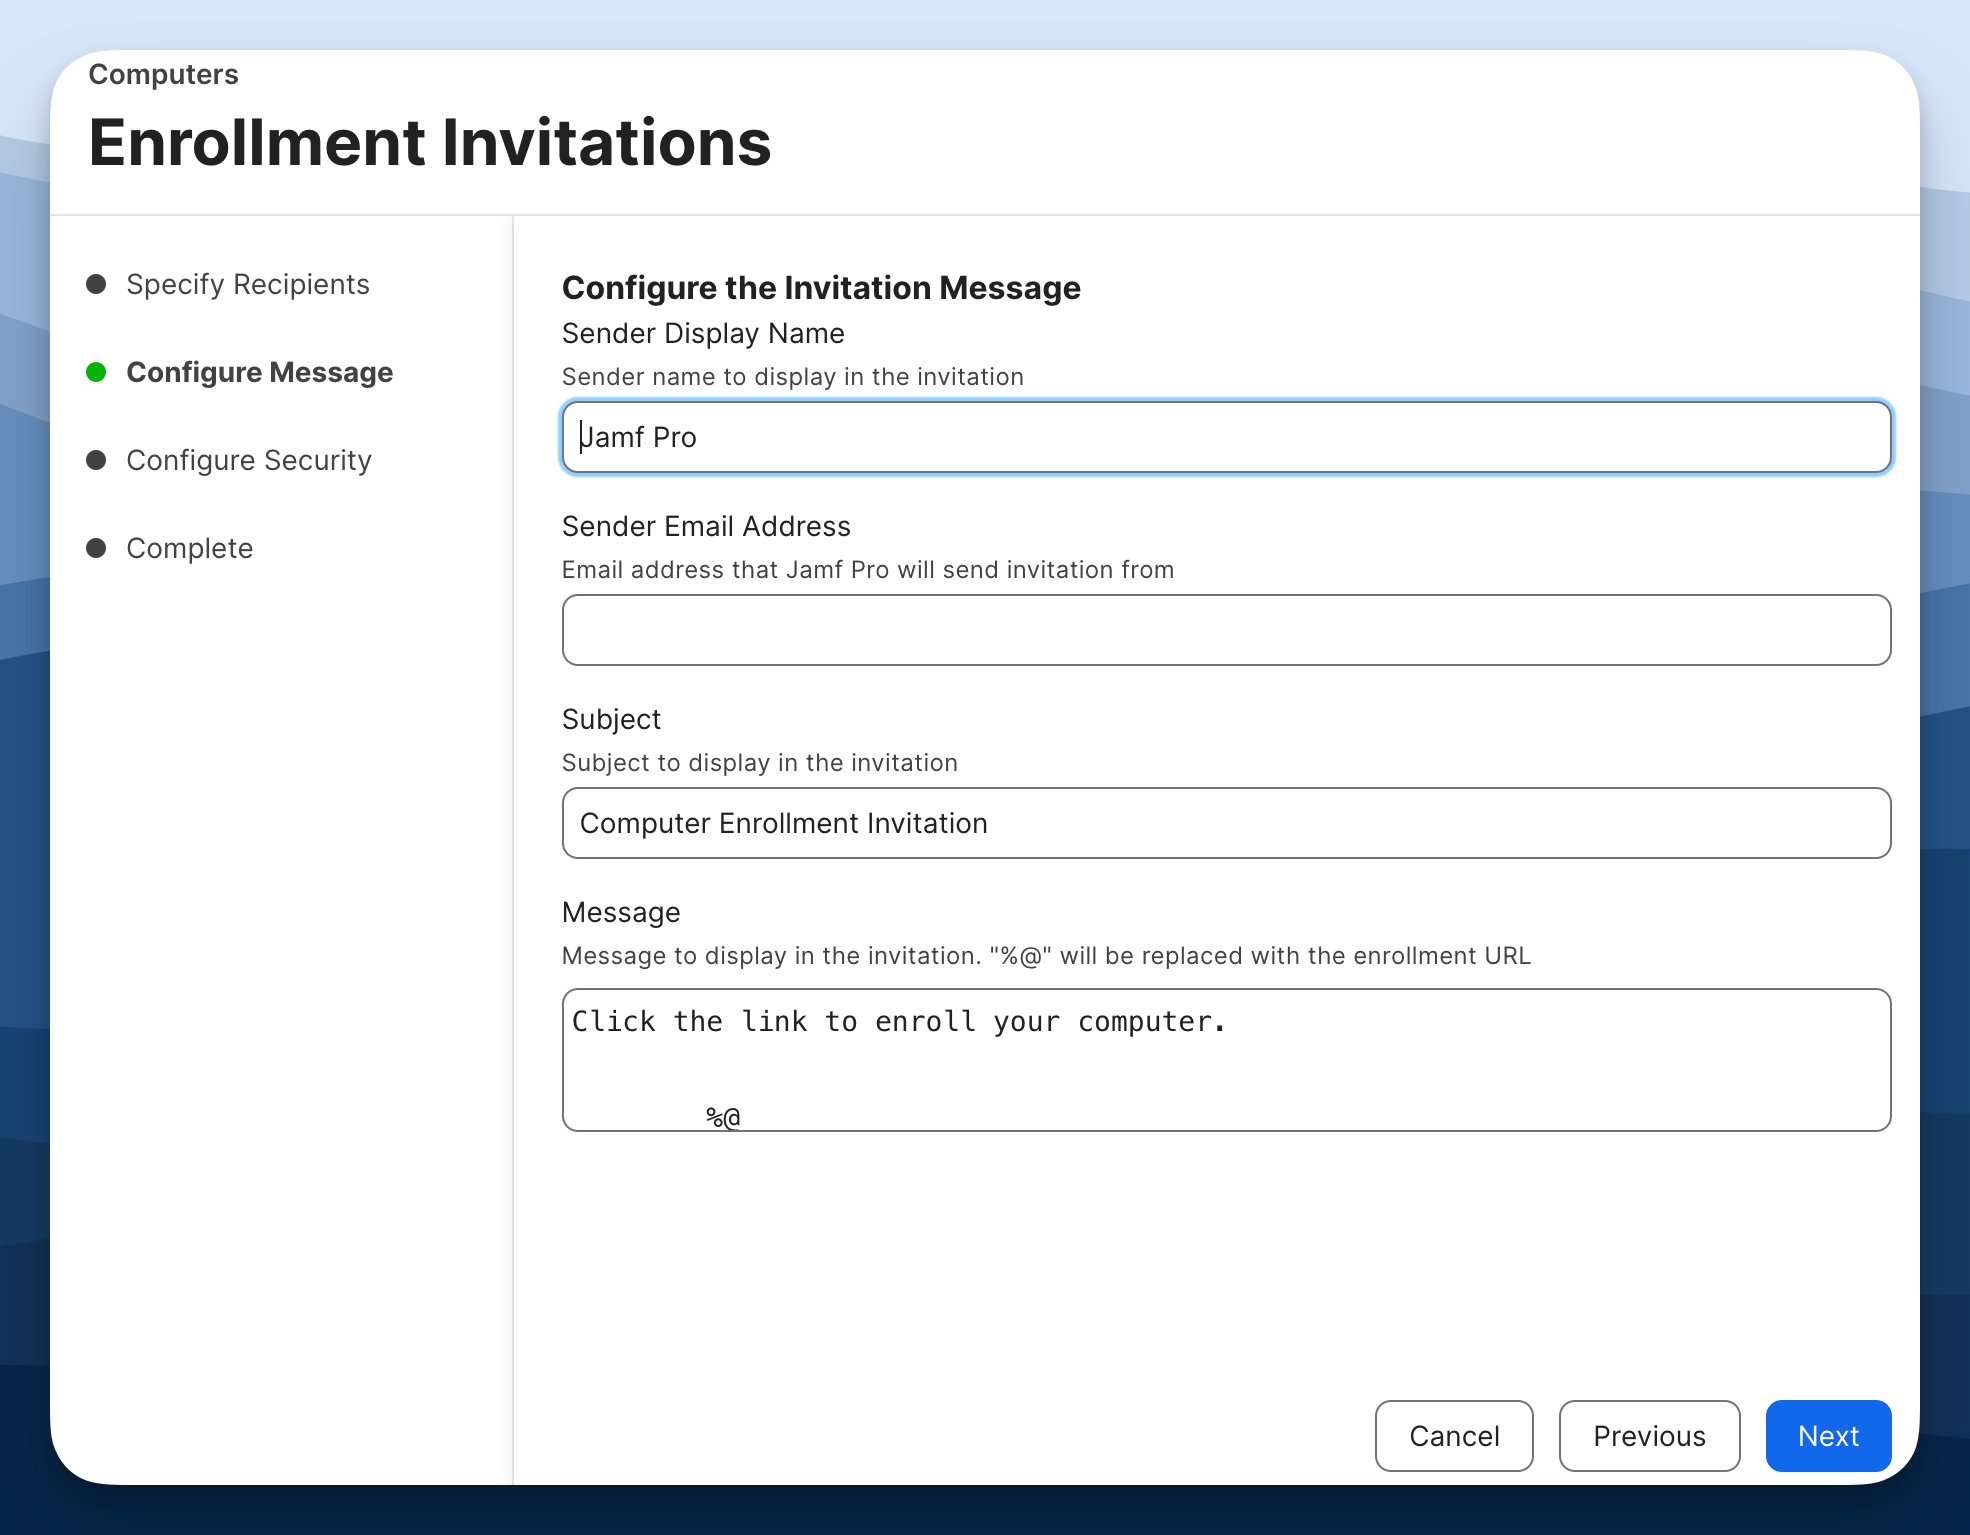
After entering the email address, click 'Next'. You will be prompted to "Configure the Invitation Message". Simply click 'Next' again, as we will be creating our own link.
Configure Invitation Security
Next, set the invitation's security parameters. This includes setting the expiry date for the invitation and ensuring the 'Allow multiple uses' option is checked. Once these are set, click 'Next'.
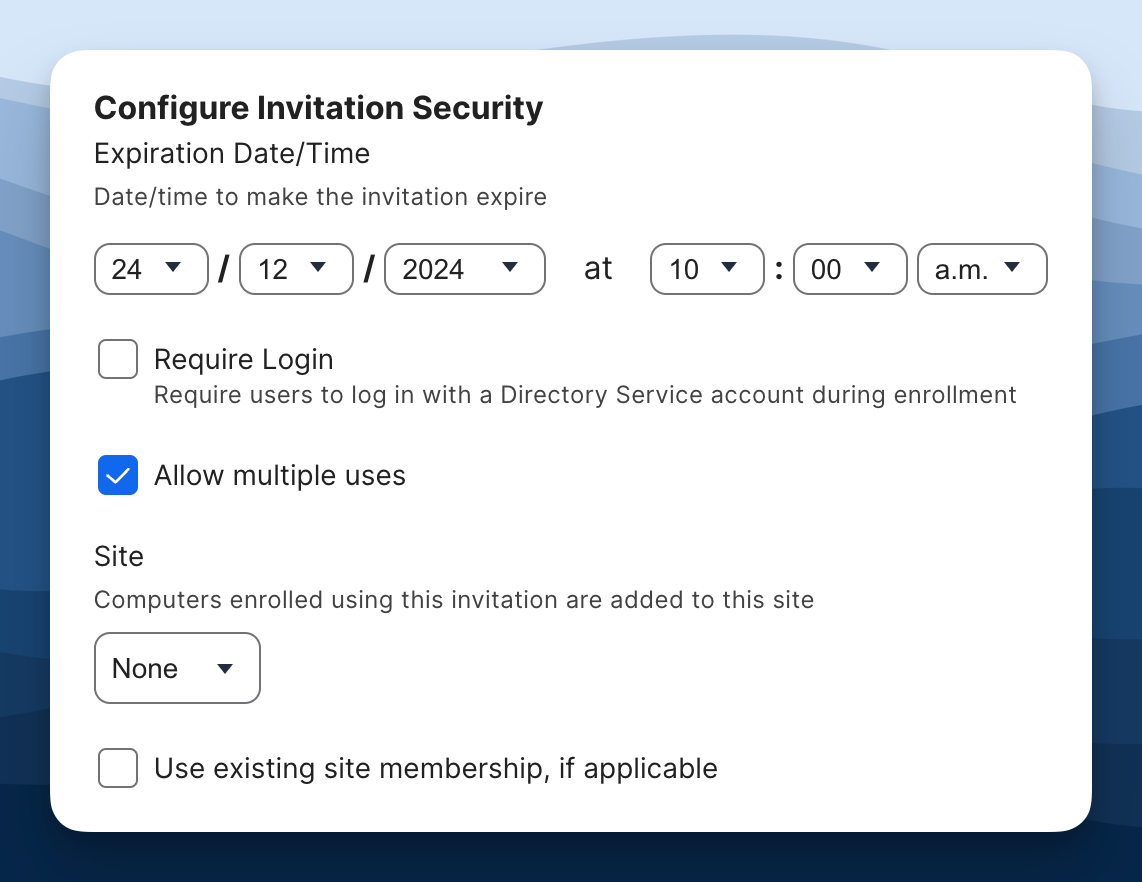
Once we have the expiry date set, and allow multiple uses selected click next.
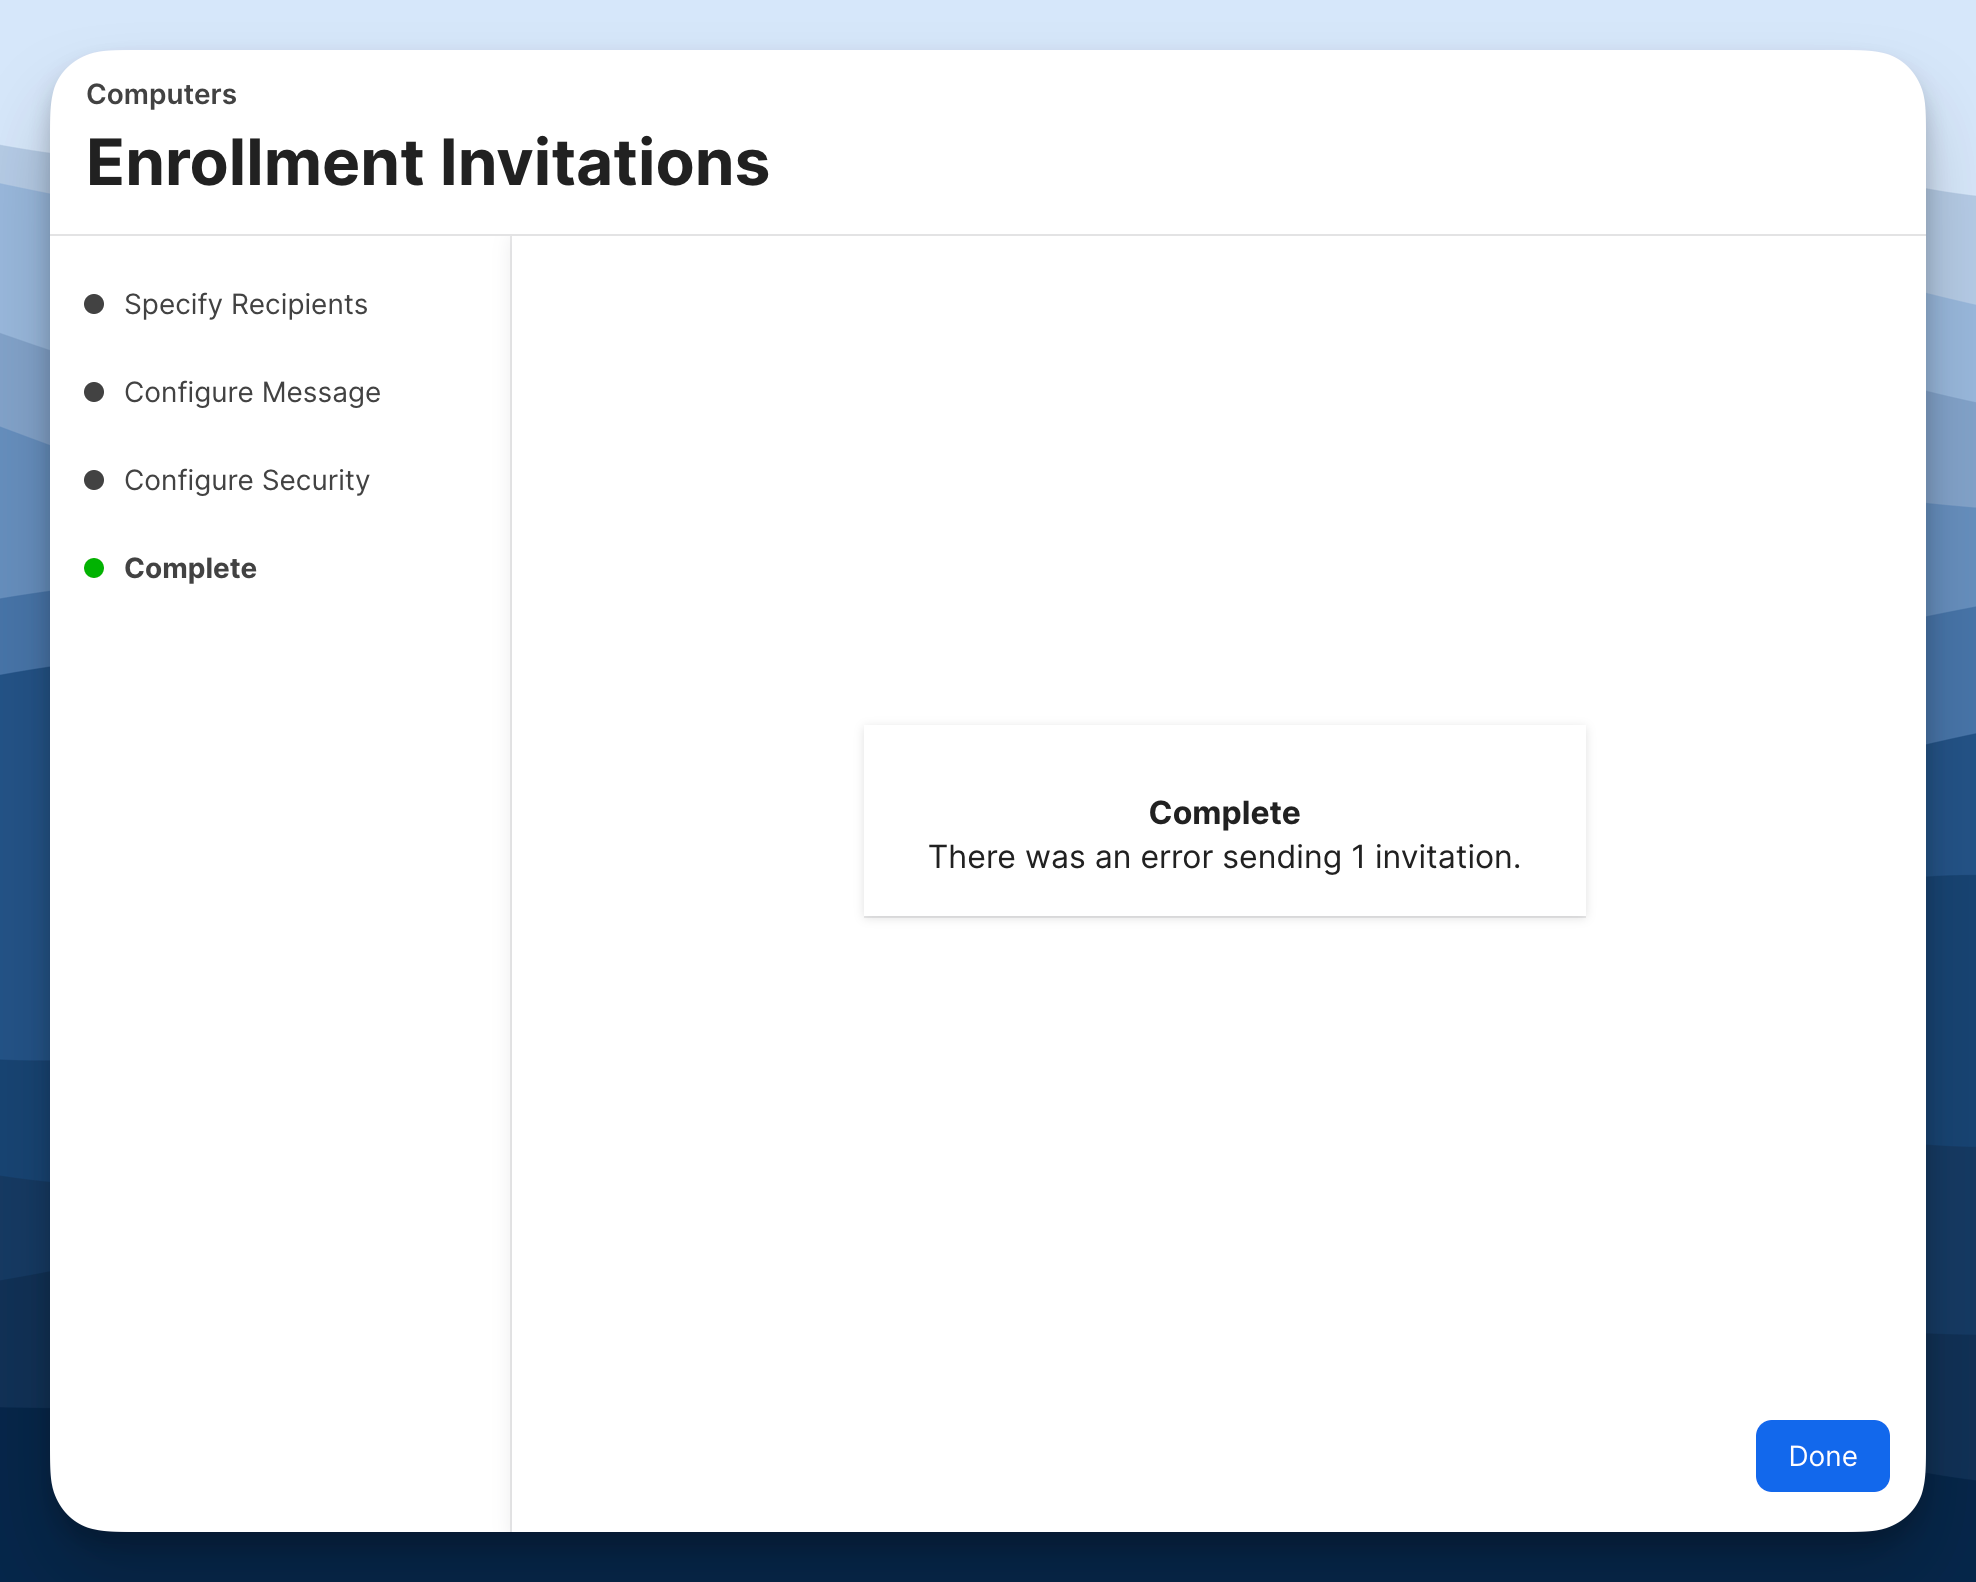
If you used a dummy email, Jamf Pro will attempt to send an email to this address and fail. If you used your own email, you will receive the email.
Creating the Enrolment URL
After creating our invitation, we need to copy the invitation ID.
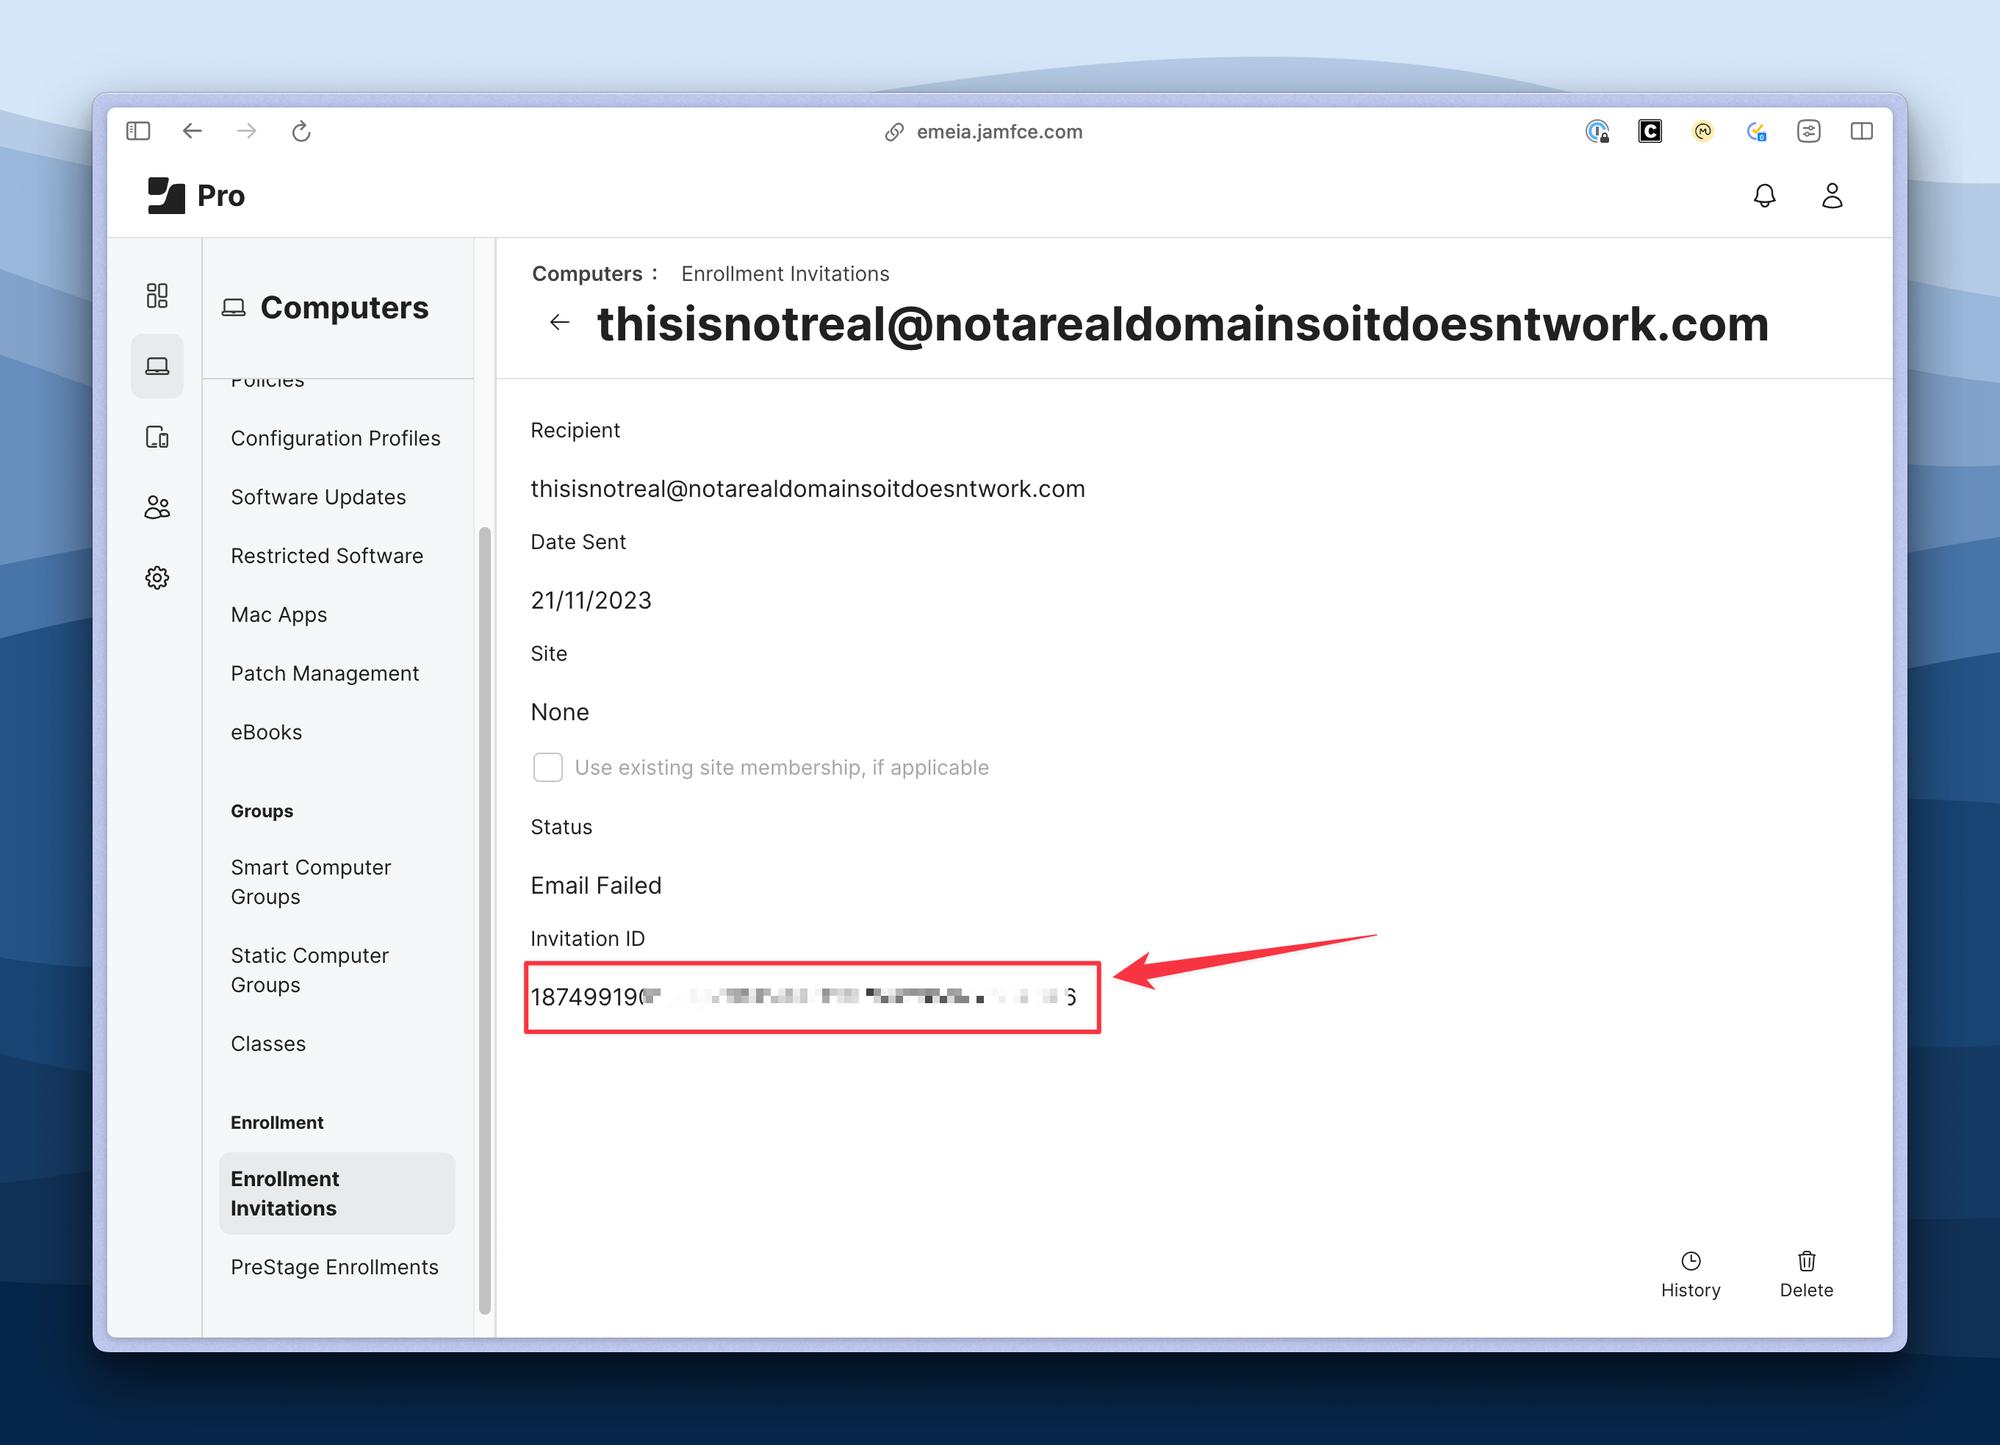
With the invitation ID in hand, add it to the following URL:
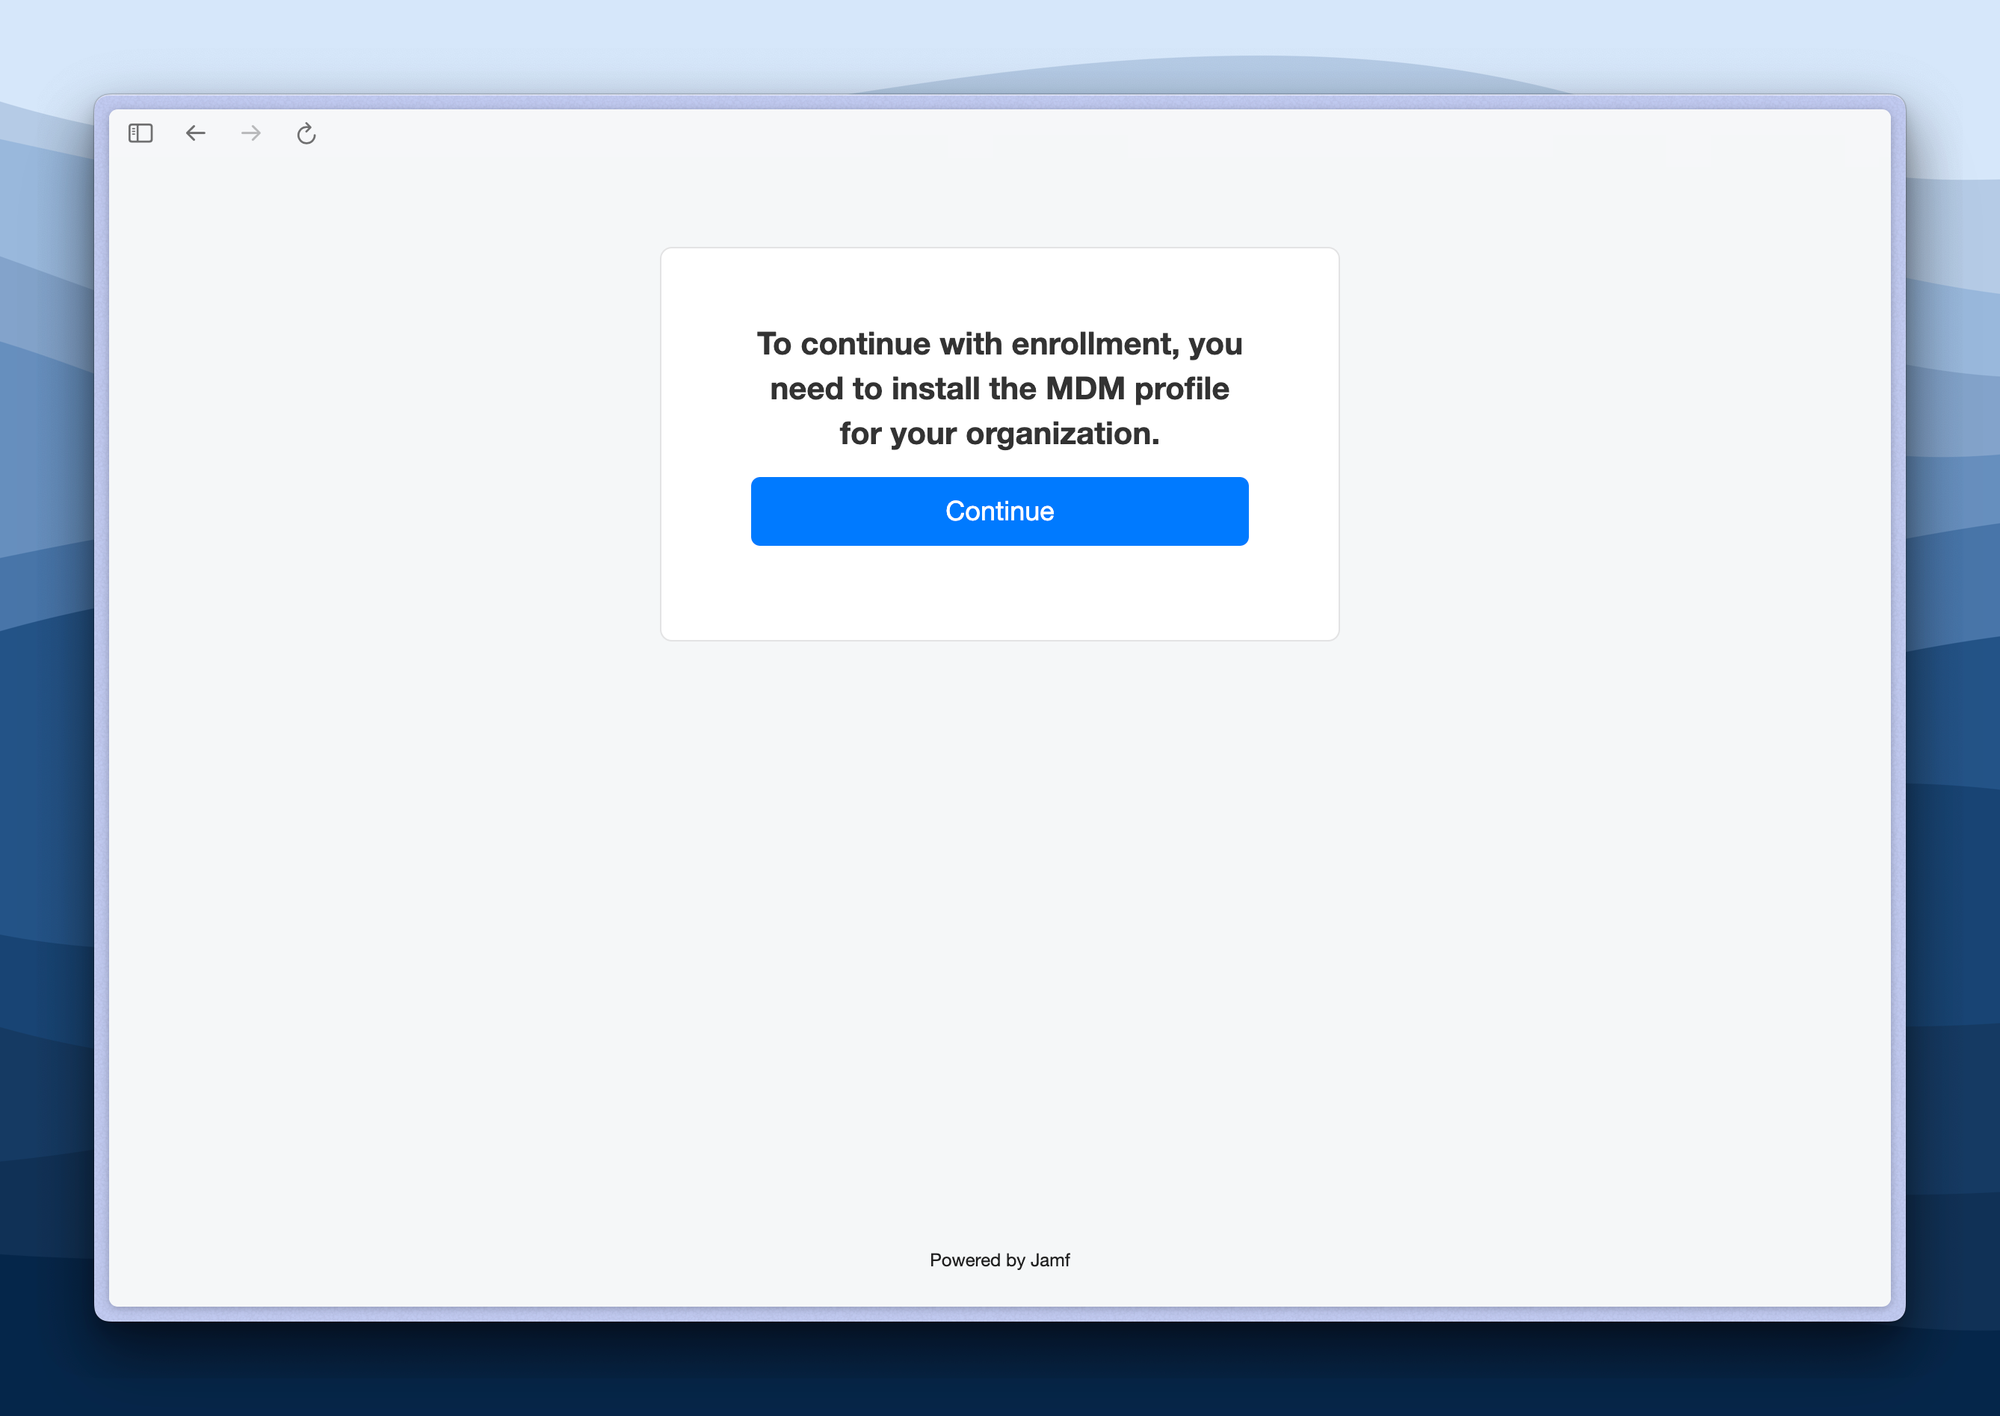
Once you've added your invitation ID to the URL, paste it into a browser. You'll be directed straight to the MDM download page without needing to log in.
Save as a Web Link
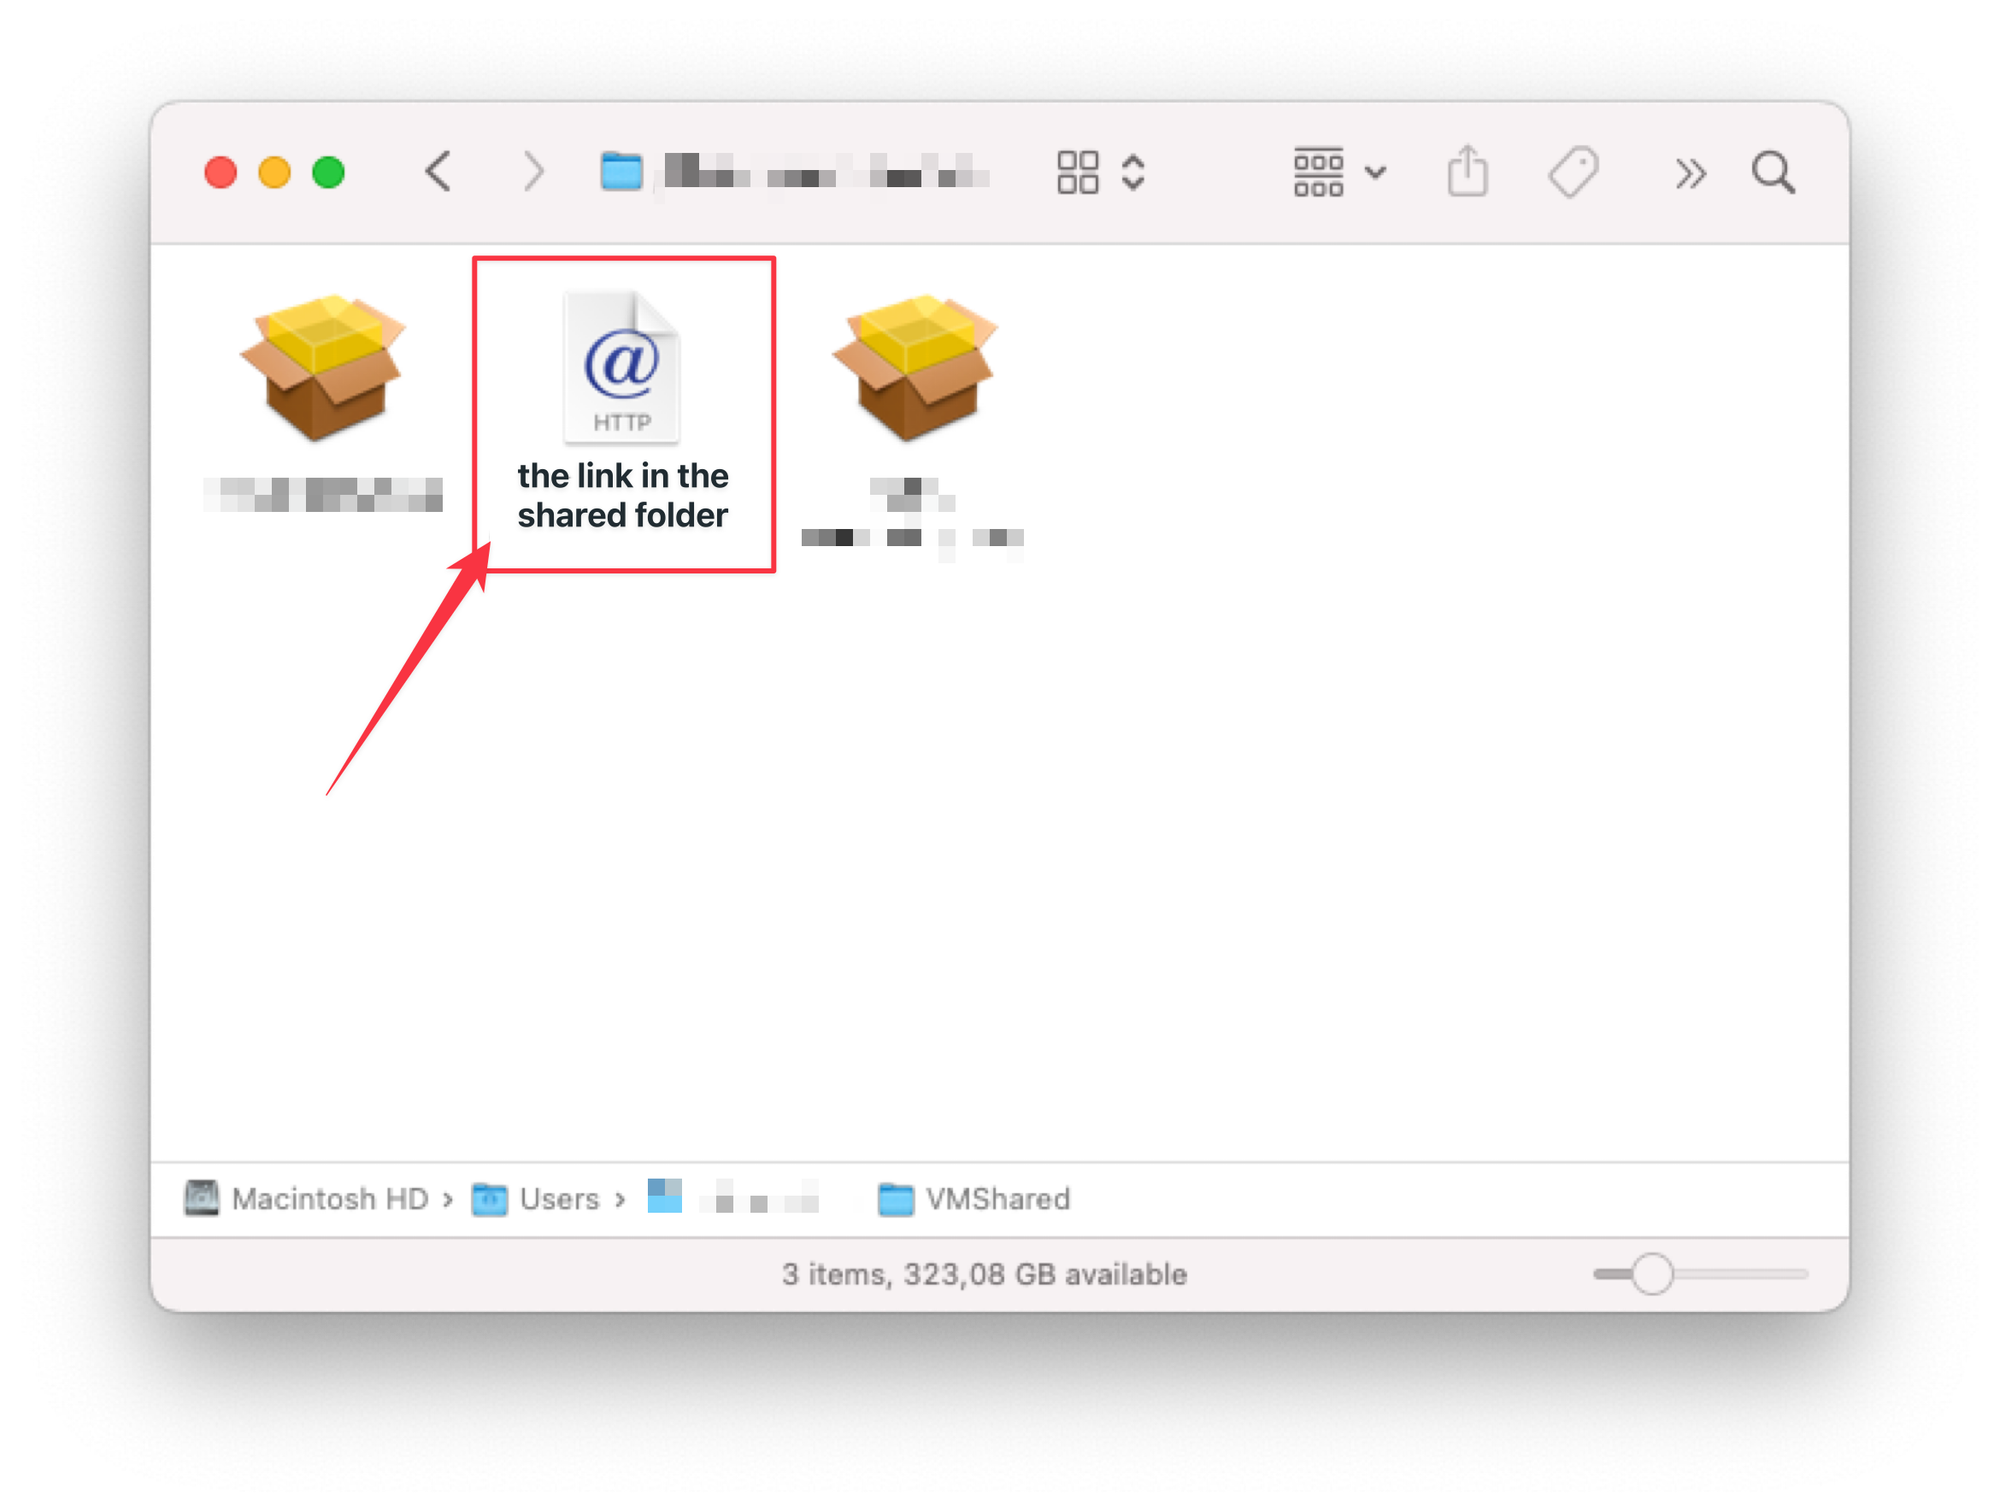

Save this URL as a web link and store it in your shared folder used for all VMs. Remember, since we selected "Allow multiple uses," you can use this link multiple times.